


Heard you were stuck on setting up menus in your app?
Well, I was too a while ago and the information I found online wasn't simple enough to get it done quickly. Just in case you're in a similar situation, here's a short guide on how to get it done.
You could view menus as containers that hold a list of actions that an app or a part of it can do. There are about three types of menus used in Android:
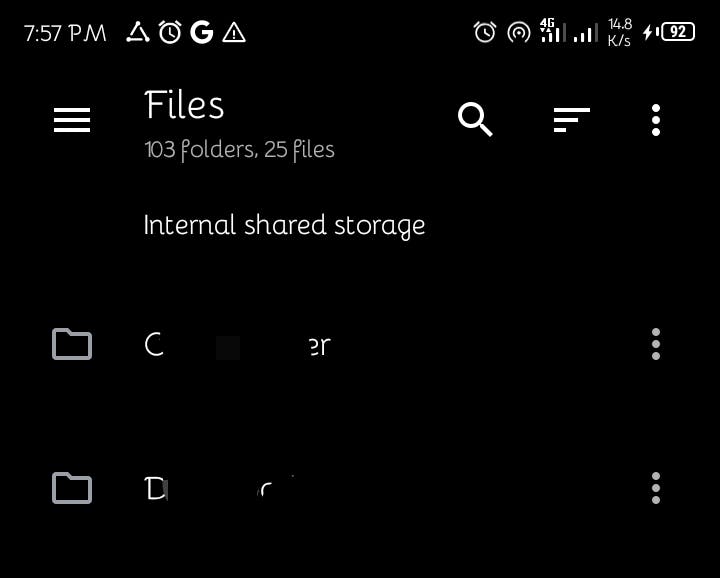
- Options menu: This is used in an action bar. It usually gets to hold the options for the activity you're on. Documentation suggests that options placed here should be ones that have a global impact on your app such as search, settings, etc. Any option which cannot fit in the bar gets shown when you click the overflow icon (three dots).
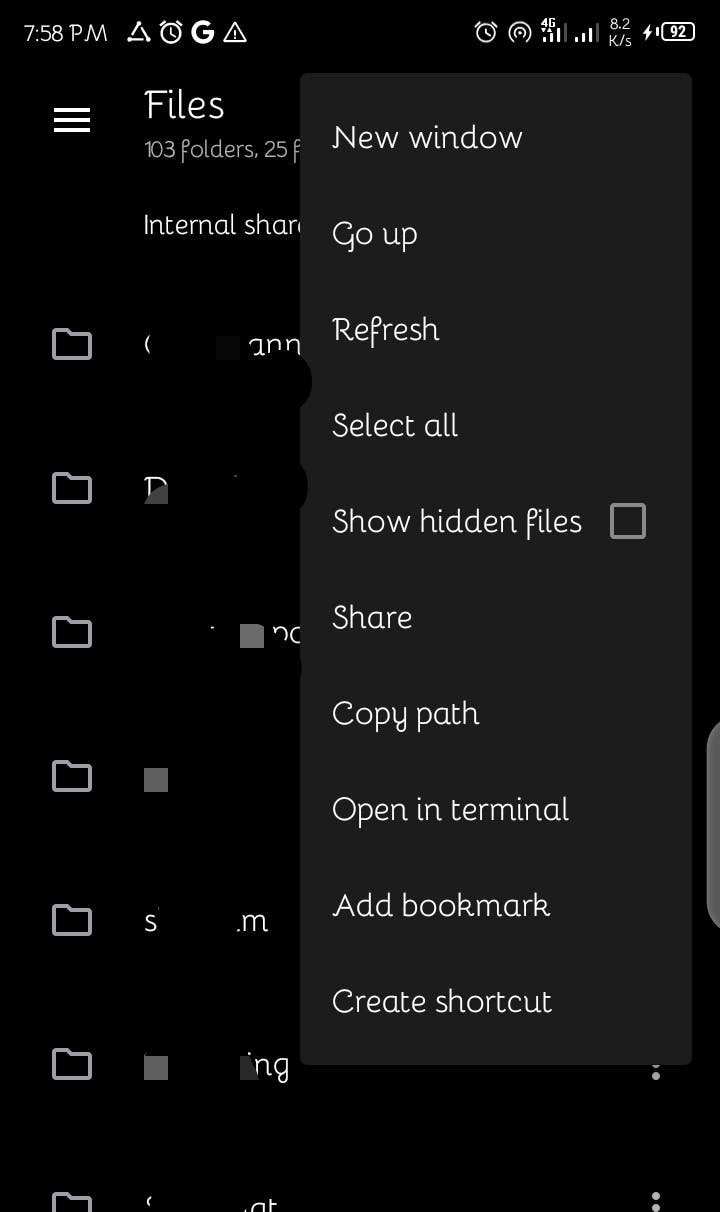
 When the overflow icon is clicked, any menu item which wasn't displayed is shown in a list.
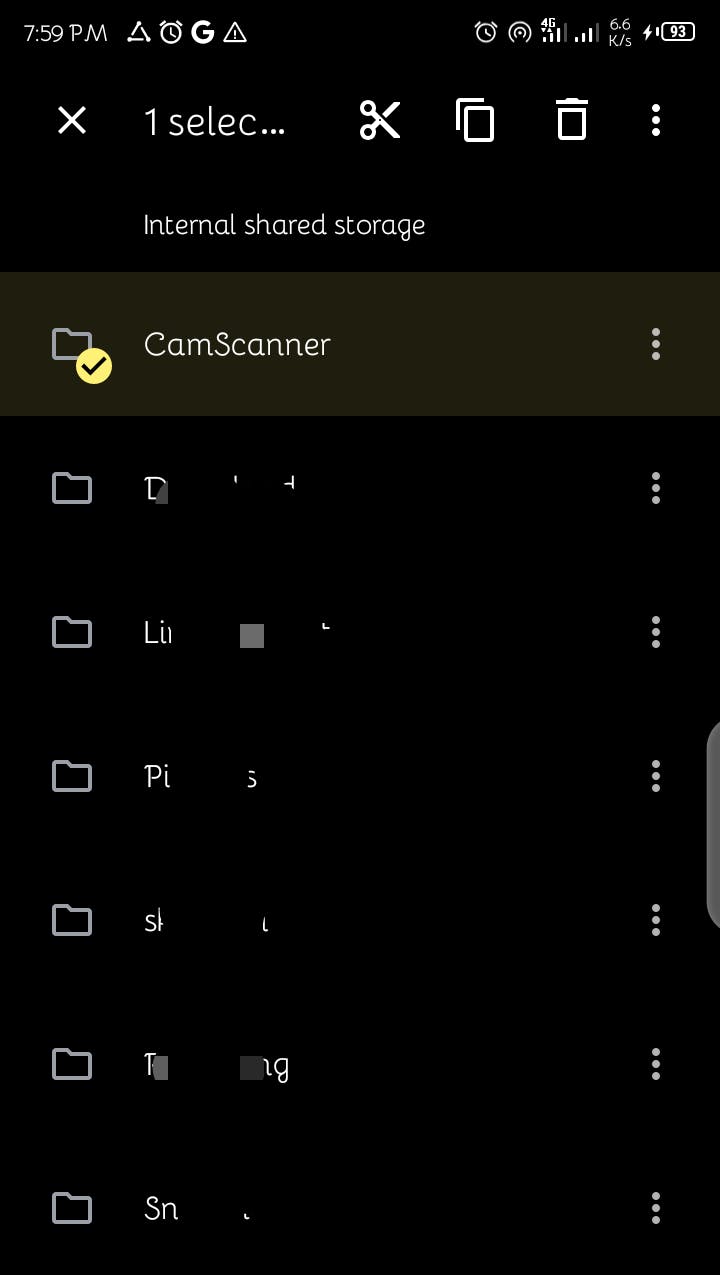
- Context menu: As the name suggests, this is a menu that is only shown in a particular context. That context is usually when an item (maybe on a list or wherever) is long-clicked. Also, the menu also gets shown in the action bar.
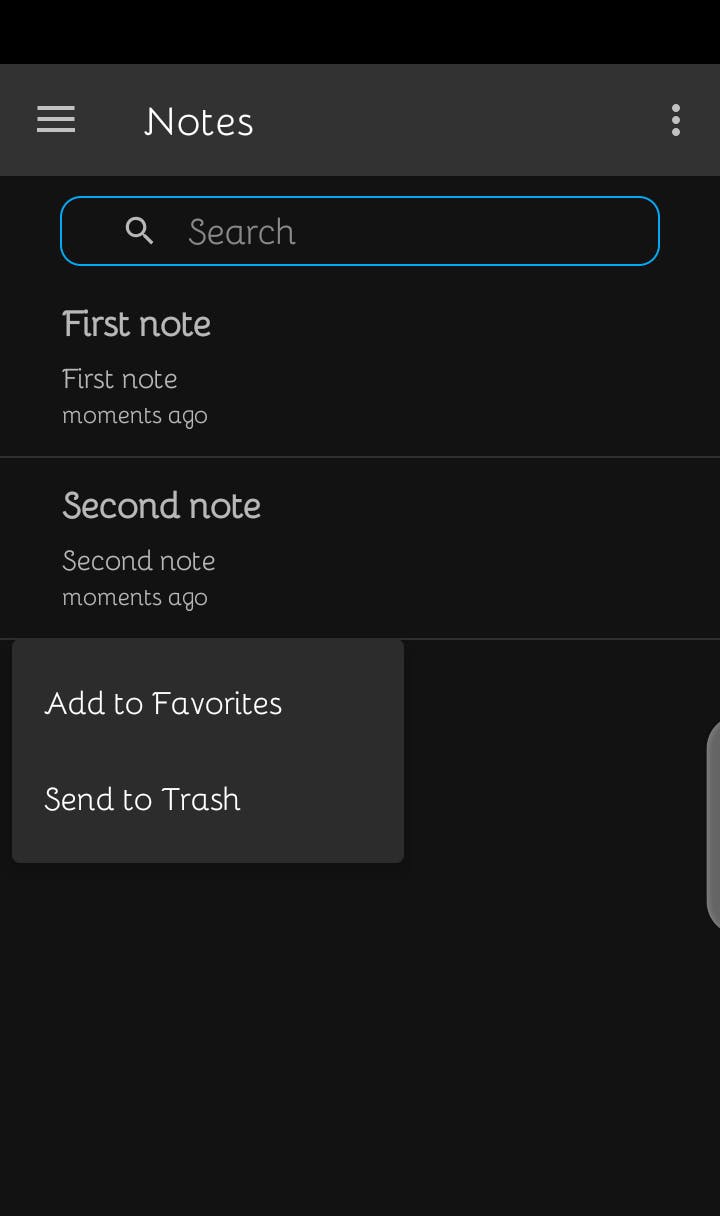
- Popup menu: Popup menus are good for providing actions that are peculiar to an item in a list.
In this article, we'll be looking at the options menu.
Guide proper begins here
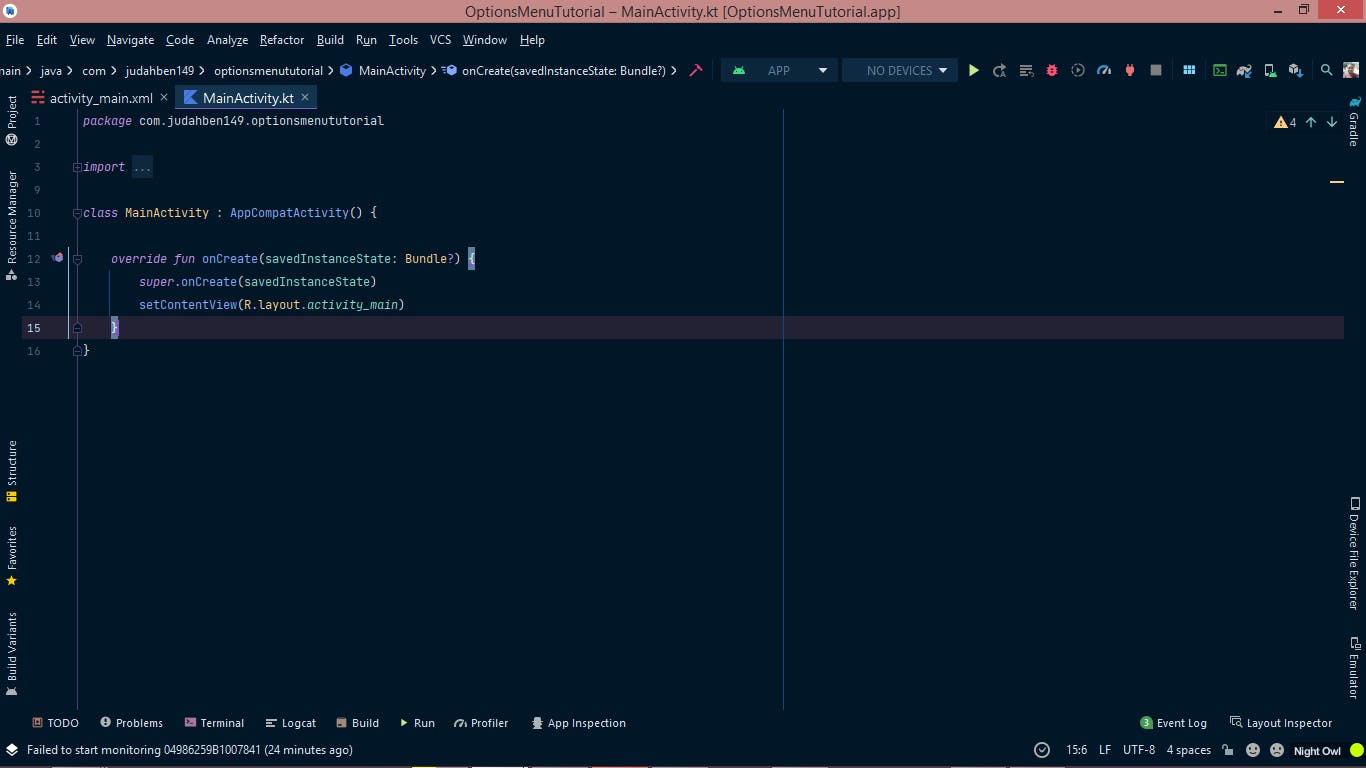
After creating a new project, you should see something like this.
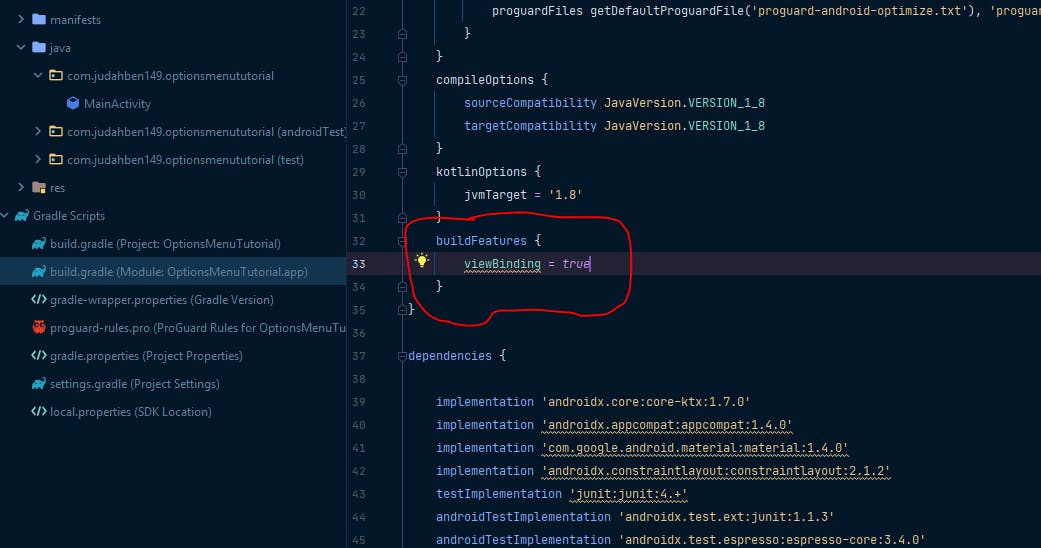
We'll use viewBinding to access views so we have to set it up. Go to your build.gradle (module) file and type in the following line. You can copy it here alternatively.
  buildFeatures {
  viewBinding = true
  }
While you're at it, add in the dependency for the Navigation component. We'll be using this to set up the action bar. Place this in the dependency section, a little under where you just placed view binding.
    // Navigation Component
    implementation 'androidx.navigation:navigation-fragment-ktx:2.4.0-rc01'
    implementation 'androidx.navigation:navigation-ui-ktx:2.4.0-rc01'
Gotten from here. Remember to change the version to the latest one at your time of doing this.
For the XML files
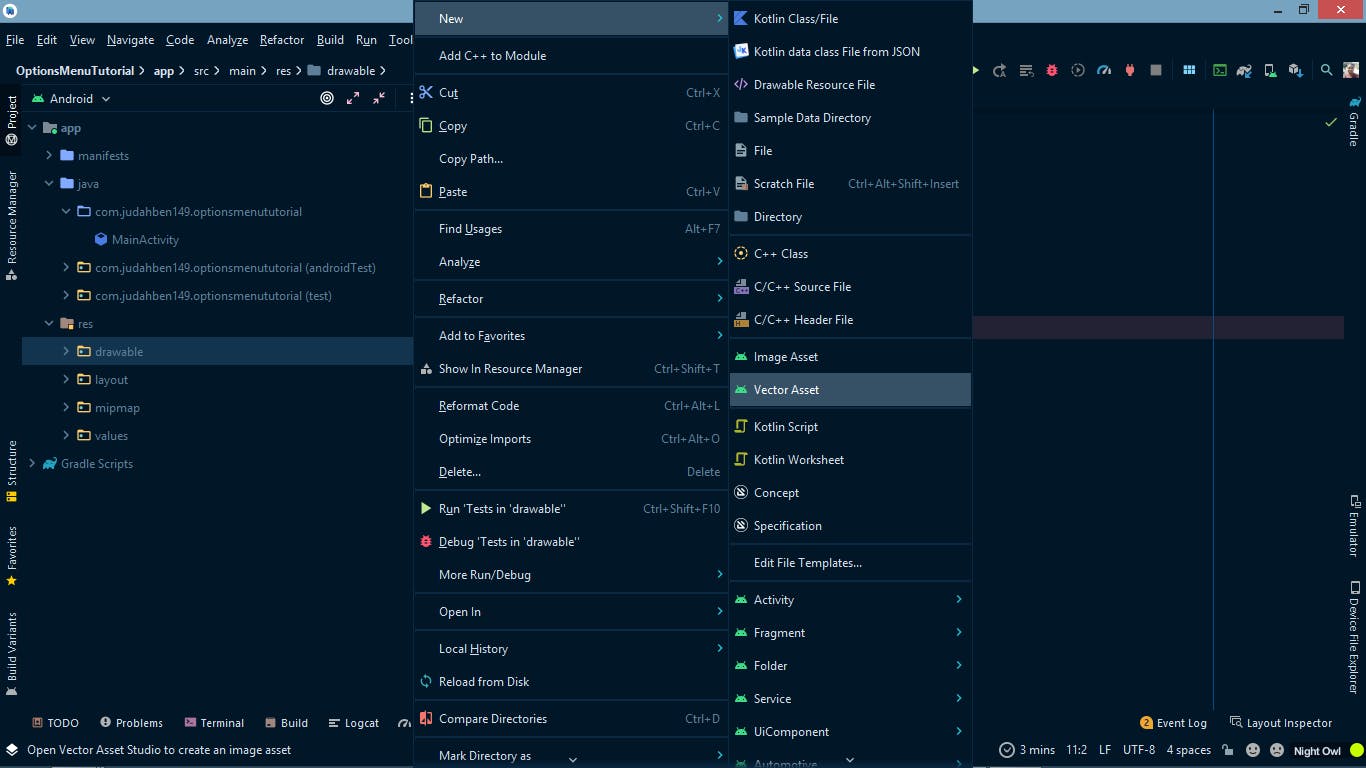
- Firstly add in vector images of the icons you want each option in the menu to have. In the project structure window, right-click on the drawable folder under the res package. Under New, select Vector asset.
 You'll be met with a screen like this.
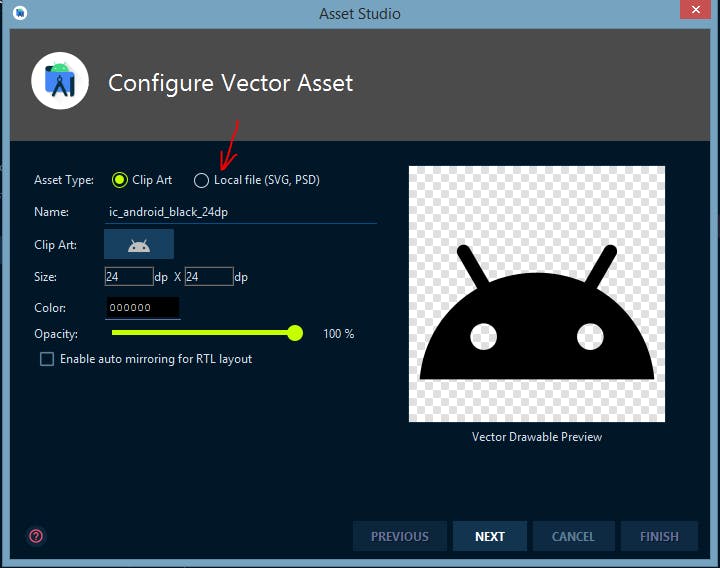 Click on the button beside ClipArt to select icons already packaged with the IDE.
If you prefer to select your own vector file, click on where the pointer is and locate your file in the window that shows up. After that click Next and Finish.
Click on the button beside ClipArt to select icons already packaged with the IDE.
If you prefer to select your own vector file, click on where the pointer is and locate your file in the window that shows up. After that click Next and Finish.
- Next, create a menu resource file. You would first need to create a menu resource directory before this. To do that, right-click on res folder, select New, then select Android Resource Directory.

On the proceeding screen, click on where the arrow is and select menu from the drop-down that appears, and click okay.
 You should now see a directory called menu under your res directory.
Right-click on it. Select New, then select Menu resource file. This screen shows up.
You should now see a directory called menu under your res directory.
Right-click on it. Select New, then select Menu resource file. This screen shows up.
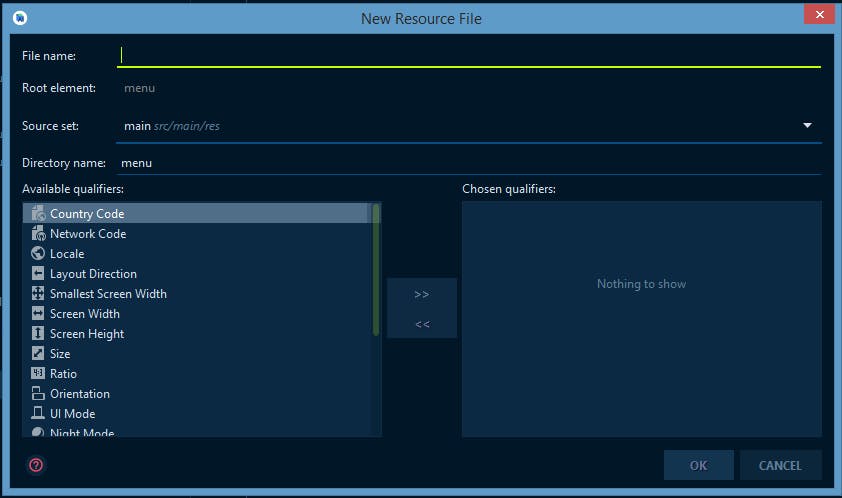 Name and click OK
You're met with an empty file that has 'menu' for opening and closing tags.
Name and click OK
You're met with an empty file that has 'menu' for opening and closing tags.
Inside this, you'll place menu items that contain attributes. Here's an example of how a single item would typically look like.
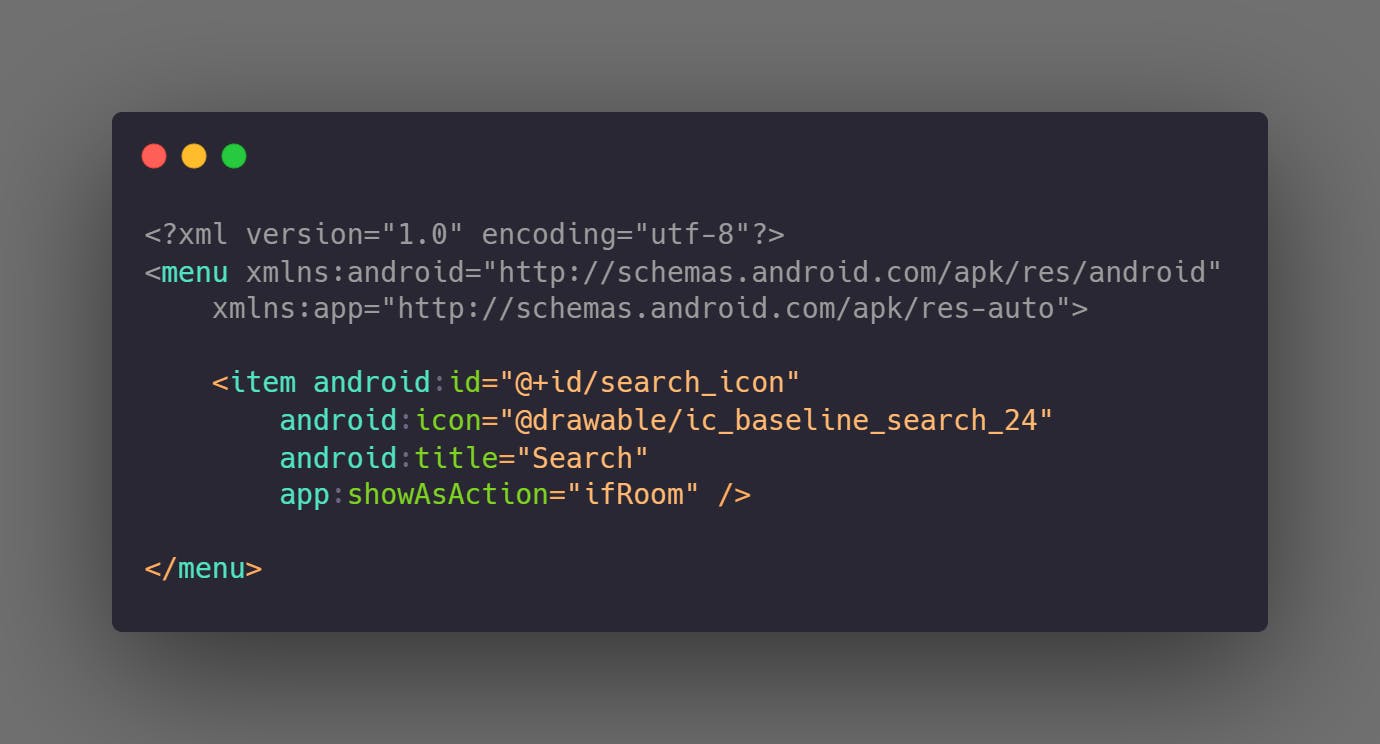 There's an id, an icon, a title, and a showAsAction attribute.
For id, give it a unique id.
For icon, set an icon from the ones you created in drawable.
For title, give it a title name that may not be unique. This is what would be displayed if the option gets to be shown in overflow.
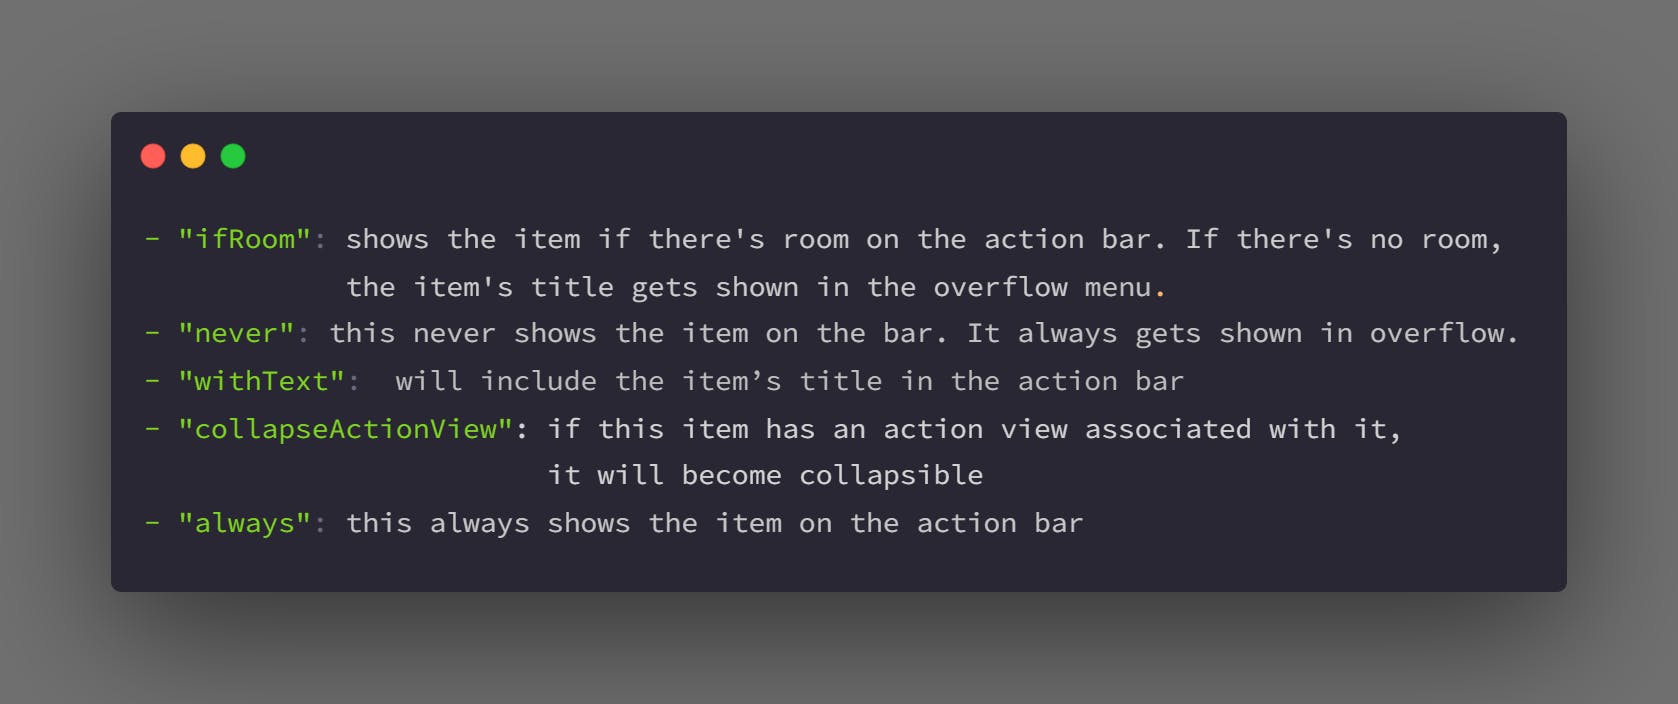
For showAsAction, this defines when and how the action appears in the action bar. It may have any of the following values.
You can write out for one item and duplicate it for the others using Ctrl + D. Remember to change the id, icon, and title. I have added the following. You should extract the title text to string resource as suggested. Here's the code provided.
 <?xml version="1.0" encoding="utf-8"?>
 <menu xmlns:android="http://schemas.android.com/apk/res/android"
     xmlns:app="http://schemas.android.com/apk/res-auto">

     <item android:id="@+id/search_icon"
         android:icon="@drawable/ic_baseline_search_24"
         android:title="Search"
         app:showAsAction="ifRoom"/>

     <item android:id="@+id/history_icon"
         android:icon="@drawable/ic_baseline_history_24"
         android:title="History"
         app:showAsAction="ifRoom"/>

    <item android:id="@+id/settings_icon"
         android:icon="@drawable/ic_baseline_settings_24"
         android:title="Settings"
         app:showAsAction="never"/>

     <item android:id="@+id/save_icon"
         android:icon="@drawable/ic_baseline_save_24"
         android:title="Save"
         app:showAsAction="never"/>
 </menu>
For the Activity/Fragment class
You can either set up the action bar in the activity or in the various fragments but it is preferable you do so in the activity and inflate the menus in the various fragments.
Set up viewBinding, declare the binding variable above the onCreate function:
  private var _binding: ActivityMainBinding? = null
  private val binding get() = _binding!!
Then, initialize it in onCreate and set content view to binding.root as so:
  override fun onCreate(savedInstanceState: Bundle?) {
      super.onCreate(savedInstanceState)
      _binding = ActivityMainBinding.inflate(layoutInflater)
      setContentView(binding.root)
  }
Inside the class but outside the onCreate function, override(Ctrl + O) the onCreateOptionsMenu function and inflate it by passing in your menu resource file. Then return true.
override fun onCreateOptionsMenu(menu: Menu?): Boolean {
      menuInflater.inflate(R.menu.my_menu, menu)
      return true
}
This basically points to the menu resource you would use and creates a menu out of it.
Next, override the onOptionsItemSelected function. This is where you'll define the action that each item on the menu carries out. You'll be able to do this using a when statement to check if the id of the item clicked matches any of the ids of the items you defined in your menu resource. Here's how that would look.
  override fun onOptionsItemSelected(item: MenuItem): Boolean {
          when (item.itemId) {
              R.id.search_icon -> {
                  //Put in whatever code you want here, I'll just put in a snackbar
                  Snackbar.make(binding.root, "Search item clicked", Snackbar.LENGTH_SHORT).show()
              }
              R.id.history_icon -> {
                  Snackbar.make(binding.root, "History item clicked", Snackbar.LENGTH_SHORT).show()
              }
              R.id.settings_icon -> {
                  Snackbar.make(binding.root, "Settings item clicked", Snackbar.LENGTH_SHORT).show()
              }
              R.id.save_icon -> {
                  Snackbar.make(binding.root, "Save item clicked", Snackbar.LENGTH_SHORT).show()
              }
          }
          return super.onOptionsItemSelected(item)
      }
Run the code using the play button at the top and you get this.

Congratulations!! You just made your own menu! 🥳